
Homemade Apple Puree for Baby: Your Easy, Loving Guide to First Foods
Oh, the exciting world of starting solids! It’s a milestone filled with anticipation, a little bit of mess (okay, maybe a lot!), and countless adorable moments. As you embark on this wonderful journey with your little one, you might be feeling a mix of excitement and perhaps a tiny sprinkle of overwhelm. What’s the perfect first food? How do you even make it? You want to provide the very best for your baby, something nutritious, delicious, and made with love – and that’s where homemade apple puree shines like a tiny, edible beacon.
Many new parents wonder if making baby food from scratch is complicated or time-consuming. You might be envisioning a chaotic kitchen or worrying about getting the texture just right for those tiny, developing palates. But trust us, creating your own apple puree is incredibly simple, rewarding, and far less daunting than it seems. It’s also a fantastic way to control exactly what goes into your baby’s tummy, avoiding added sugars or preservatives often found in store-bought options.
This comprehensive guide is designed to walk you through every step, transforming any anxieties into confidence. We’ll explore everything from choosing the best apples to the easiest cooking methods, achieving that perfect silky-smooth consistency, and smart storage tips. By the end, you’ll be a pro at whipping up nutritious, delightful apple puree, ready to celebrate those precious first bites with your sweet baby. Let’s get started on this joyful culinary adventure together!
Easy Steps to Cook Apples for Baby’s First Puree
Starting your baby on solid foods is a special time, and introducing a single-ingredient puree like apple is often recommended as a gentle first step. Apples are naturally sweet, packed with vitamins, and generally well-tolerated, making them an excellent choice for tiny tummies. The beauty of making this at home is the control you have over the ingredients and the freshness you can provide for your little one.
Before you even think about cooking, it’s helpful to gather all your tools and ingredients. This ensures a smooth and efficient process, which is always a bonus when you have a baby around! You’ll need fresh apples, a peeler, a knife, a cutting board, a pot with a steamer basket (or a baking sheet), and a blender or food processor. Having everything ready to go will make the whole experience much more enjoyable and less rushed.
Remember, the goal here is simplicity and nutrition. You don’t need fancy equipment or gourmet cooking skills. Just a few basic steps will get you to a lovely, wholesome puree that your baby will hopefully adore. Let’s dive into the specifics of preparing and cooking your apples to perfection, ensuring they’re soft and ready for blending into that delightful first food.
Choosing the Perfect Apples for Tiny Tummies
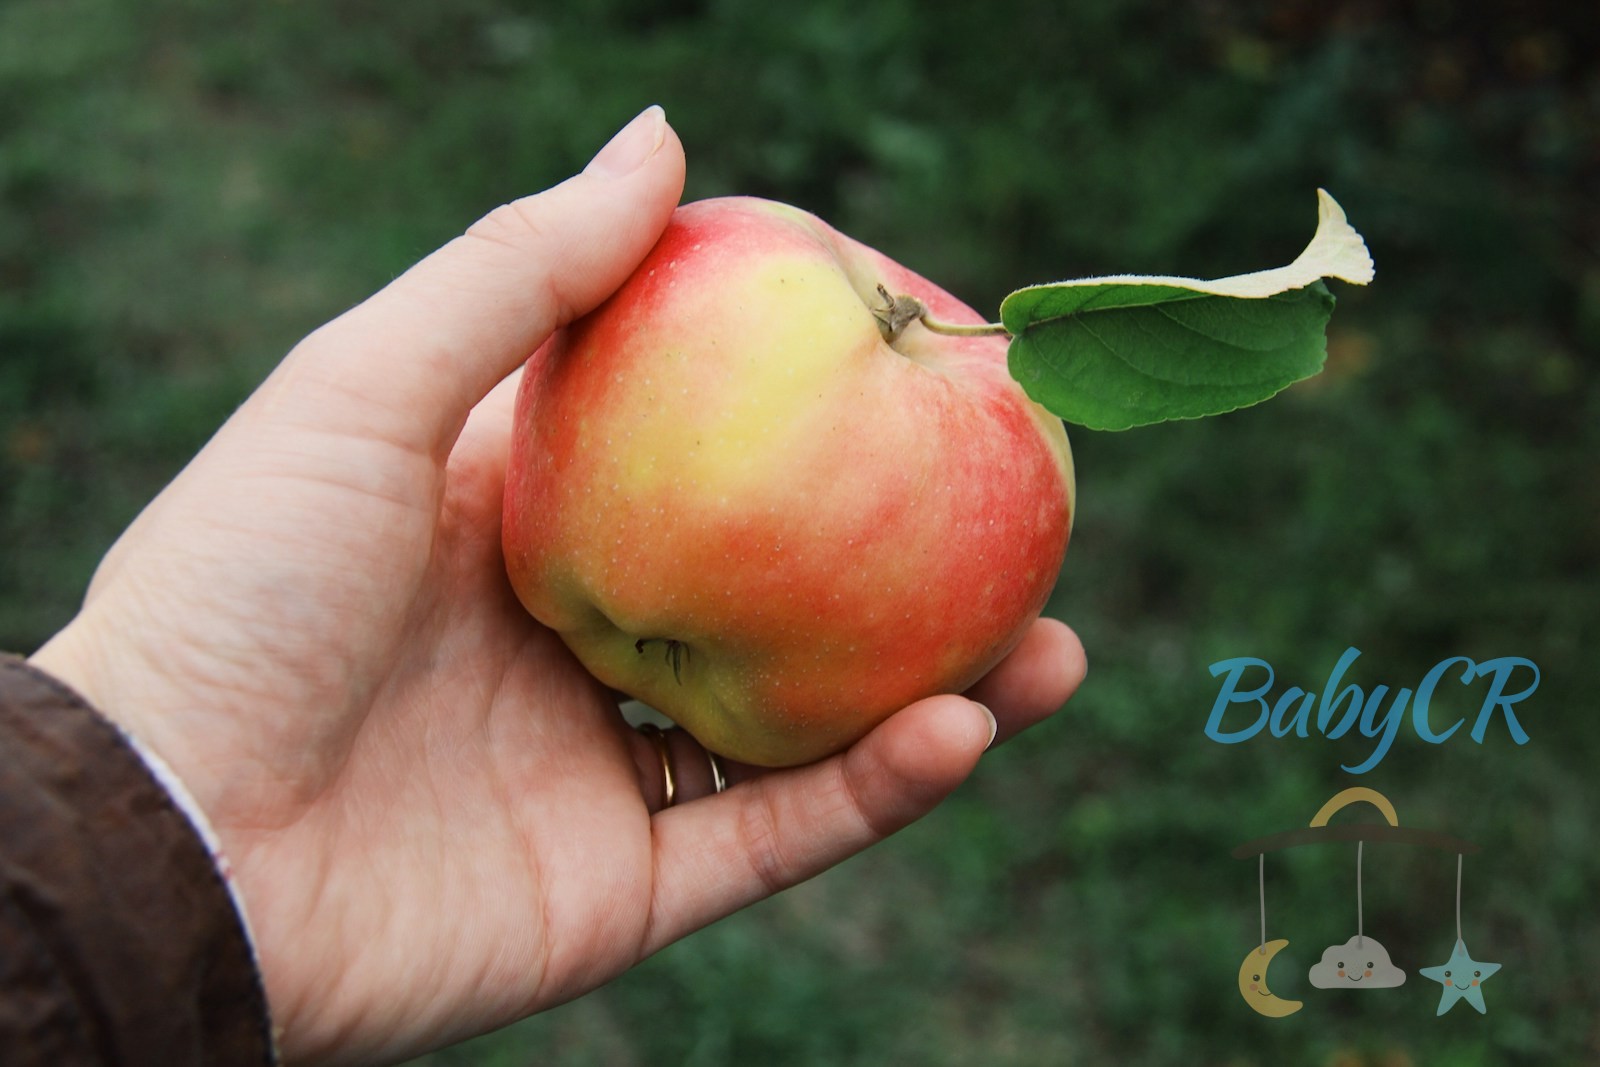
Selecting the right apples is the first crucial step in making delicious and baby-friendly puree. While many apple varieties are available, some are naturally sweeter and break down more easily when cooked, making them ideal for a smooth puree. Think about varieties like Gala, Fuji, McIntosh, or Golden Delicious – these tend to be less tart and have a softer texture when cooked.
When you’re at the grocery store or farmer’s market, look for apples that are firm to the touch, free from bruises or soft spots, and have vibrant skin. While organic apples are a popular choice for baby food to minimize pesticide exposure, thoroughly washing any apple you choose is essential. A good rinse under cool running water will help remove surface dirt and residues, regardless of whether they are organic or conventionally grown.
Consider buying a small batch initially, perhaps 2-3 medium apples, especially if this is your first time making puree or if you’re unsure how much your baby will eat. This helps reduce waste and ensures you always have the freshest batches on hand. As you get more comfortable and your baby’s appetite grows, you can certainly scale up your production to save time during your busy week.
Prepping Your Apples: Wash, Peel, Core, & Chop
Once you’ve chosen your perfect apples, it’s time for the prep work, which is straightforward but important for your baby’s safety and the puree’s quality. Start by giving each apple a thorough wash under cool running water. Even if you plan to peel them, washing first helps to remove any surface contaminants before you start cutting into the fruit.
Next, it’s time to peel, core, and chop. Peeling is crucial for baby puree because apple skins can be tough and difficult to digest for little ones, and they can also create a lumpy texture that might be a choking hazard. Use a vegetable peeler or a sharp paring knife to remove all the skin. After peeling, carefully cut the apple into quarters or eighths and remove the core, seeds, and any fibrous bits.
Finally, chop the peeled and cored apple pieces into uniform, small chunks, roughly 1-inch cubes. Uniform pieces ensure that all the apple cooks evenly and at the same rate, preventing some pieces from being too hard while others are mushy. This consistent size will contribute significantly to achieving that wonderfully smooth puree texture that is ideal for a baby’s first introduction to solids.
Gentle Cooking Methods: Steaming, Boiling, Baking
When it comes to cooking apples for baby puree, gentle methods are best to preserve as many nutrients as possible while ensuring the fruit is soft enough to blend. Steaming is often considered the gold standard because it cooks the apples evenly with minimal water, which helps retain water-soluble vitamins and minerals. Simply place your chopped apple pieces in a steamer basket over an inch or two of boiling water, cover, and steam for 8-10 minutes, or until fork-tender.
Boiling is another quick and easy option if you don’t have a steamer. Place your apple chunks in a pot and cover them with just enough water to submerge them. Bring the water to a boil, then reduce the heat and simmer for 10-15 minutes, or until the apples are very soft. While effective, boiling can leach some nutrients into the water, so if you choose this method, consider using a little of the cooking water when blending to retain some of those escaped vitamins.
Baking offers a lovely, caramelized flavor that some babies might enjoy, though it takes a bit longer. Preheat your oven to 375°F (190°C). Place the chopped apples on a baking sheet, you can add a tablespoon or two of water to prevent drying if you wish, and bake for 15-20 minutes, or until they are soft when pierced with a fork. This method can be great for larger batches or for a slightly different taste profile. Whichever method you choose, always ensure the apples are completely soft before moving to the blending stage; this is key for a smooth, palatable puree.
Making it Smooth: Blending & Storing Puree for Baby
After your apples are perfectly cooked and cooled a bit, the magic of transforming them into a silky-smooth puree begins! This stage is where you get to control the final consistency, making it just right for your baby’s current stage of development. Achieving the ideal texture is crucial to ensure easy swallowing and to prevent any potential choking hazards, especially when your little one is just starting out with solids.
Having the right tools for blending can make a big difference in the smoothness of your homemade puree. A good blender, food processor, or even an immersion blender will be your best friend here. These appliances are designed to break down cooked fruits into incredibly fine particles, resulting in that velvety texture babies need. Don’t worry if you don’t have a high-tech gadget; even a simple food mill or a sturdy fork can work for smaller batches, though they might require a bit more elbow grease.
Once your delicious apple puree is ready, thinking about proper storage is key to ensuring its freshness and safety for your baby. Batch cooking and storing in convenient portions will save you so much time during busy weekdays. Let’s dive into how to achieve that perfect blend and keep your homemade goodness safe and ready for feeding time.
Achieving the Ideal Puree Consistency
The texture of your baby’s first foods is incredibly important. For brand-new eaters, a very smooth, lump-free consistency is essential to prevent gagging and help them get used to the sensation of solids. Once your apples are cooked and slightly cooled, transfer them to your chosen blending device. Start by blending them on their own, without adding any liquid yet.
As you blend, you’ll notice the apples breaking down. If the mixture seems too thick or isn’t becoming perfectly smooth, you can gradually add a small amount of liquid. The best liquids to use are breast milk, formula, or the plain cooking water you used if you boiled or steamed the apples (assuming it’s clean). Start with a tablespoon at a time, blending after each addition, until you reach that desired silky-smooth, almost soup-like consistency. Avoid adding juice or cow’s milk for infants under one year.
For older babies who are progressing with solids, you might intentionally leave the puree slightly chunkier to introduce new textures. However, for a first food, aim for absolutely no lumps. If you find your blender isn’t quite cutting it, or you want an extra smooth result, you can press the puree through a fine-mesh sieve with the back of a spoon. This extra step ensures every tiny bit is smooth and perfect for delicate palates, making the eating experience enjoyable and safe.
Portioning & Storing Your Homemade Apple Goodness
Once your apple puree reaches that perfect, smooth consistency, it’s time to think about portioning and storage. This is where you can truly make the most of your batch cooking efforts! For daily use, store freshly made apple puree in an airtight container in the refrigerator for up to 3 days. Small, individual baby food containers are perfect for this, making grab-and-go meals super easy.
For longer-term storage, freezing is your best friend. Ice cube trays are an absolute lifesaver for freezing baby food in convenient, single-serving portions. Simply spoon the cooled puree into the compartments of a clean ice cube tray, cover it with plastic wrap (or use a tray with a lid), and freeze for at least 4-6 hours, or until solid. Once frozen, pop the cubes out and transfer them to a freezer-safe bag or container, labeling them with the date and contents.
Frozen apple puree cubes can be stored in the freezer for up to 3 months. This method allows you to build up a stash of various purees, offering your baby a diverse menu without daily cooking. When you’re ready to serve, simply take out the desired number of cubes and thaw them in the refrigerator overnight, or gently warm them on the stovetop or in a microwave (stir well to ensure even heating and check temperature before serving).
Creative Twists & Serving Suggestions
While plain apple puree is wonderful on its own, once your baby has successfully tried a few single-ingredient purees, you can start to get creative! Introducing new flavor combinations can be a fun way to expand your baby’s palate and ensure they’re getting a wide range of nutrients. Apples pair beautifully with so many other fruits and vegetables, creating delightful and nutritious blends.
Consider mixing apple puree with other mild fruit purees like pear, banana, or peach for a naturally sweet treat. For a veggie boost, apple puree can also be blended with cooked and pureed carrots, sweet potatoes, or butternut squash. These combinations not only add variety but also introduce different vitamins and minerals. Always introduce new ingredients one at a time, waiting a few days in between to watch for any allergic reactions.
When it comes to serving, always ensure the puree is at a safe, lukewarm temperature. A quick stir after warming helps distribute heat evenly. You can offer the puree on a soft baby spoon, allowing your little one to explore the texture and taste at their own pace. Remember, starting solids is about exploration and learning, not necessarily about how much they eat. Celebrate every tiny bite and messy smile – you’re doing great!
Your Homemade Apple Puree Journey: A Sweet Success!
You did it! You’ve navigated the wonderful, sometimes messy, but always rewarding world of making homemade apple puree for your baby. From carefully selecting the freshest apples to mastering the art of steaming, blending, and smart storage, you’ve equipped yourself with all the knowledge and practical steps needed to provide your little one with a nourishing and delicious first food. This journey isn’t just about food; it’s about nurturing, exploring tastes, and building healthy habits from the very beginning.
Remember, every step you take in preparing fresh, wholesome meals for your baby is an act of love. You’re giving them a fantastic start, free from artificial additives, and packed with the goodness of real fruit. The process might seem like a lot at first, but with each batch, you’ll find yourself growing more confident and efficient. Soon, making baby food will feel like second nature, a joyful part of your routine.
So, go ahead, pat yourself on the back! You’re not just a parent; you’re a culinary creator, a nutritionist, and a source of incredible comfort for your little one. Now it’s your turn to put these tips into action. Embrace the journey, celebrate the milestones, and savor every precious moment of your baby’s first bites. Happy pureeing, and enjoy the beautiful experience of watching your baby discover new flavors!
Frequently Asked Questions About Apple Puree for Baby
Q: When can babies start eating apple puree?
A: Most pediatricians recommend introducing solid foods, including apple puree, around 4 to 6 months of age. Look for signs of readiness, such as good head control, sitting up with support, showing interest in food, and losing the tongue-thrust reflex. Always consult your pediatrician before starting solids.
Q: Should I peel apples for baby puree?
A: Yes, it is highly recommended to peel apples for baby puree. Apple skins can be tough for babies to digest and can create a lumpy texture that may pose a choking hazard for new eaters. Peeling ensures a smooth, safe consistency.
Q: How long does homemade apple puree last?
A: Homemade apple puree can be stored in an airtight container in the refrigerator for up to 3 days. If you freeze it in individual portions (like in ice cube trays), it can last for up to 3 months in the freezer.
Q: Can I use raw apples for baby puree?
A: No, raw apples are not suitable for baby puree, especially for infants just starting solids. Raw apples are too hard and fibrous, making them difficult for babies to chew and digest. Always cook apples until they are very soft and tender before pureeing for your baby.
Q: What are the best apple varieties for baby puree?
A: Sweet and less tart apple varieties that soften well when cooked are ideal for baby puree. Good choices include Gala, Fuji, McIntosh, Golden Delicious, and Honeycrisp. These varieties generally produce a smoother, more palatable puree for infants.
Q: Can I add spices or other flavors to apple puree for my baby?
A: For baby’s first introduction to solids, it’s best to start with plain, single-ingredient apple puree. Once your baby has successfully tolerated plain apple puree and other single ingredients, you can introduce mild spices like a tiny pinch of cinnamon or nutmeg. Always introduce new flavors one at a time and in very small amounts, observing for any reactions.
Q: How do I thaw and reheat frozen apple puree?
A: To thaw, simply transfer the frozen apple puree cubes to a small bowl or container and place them in the refrigerator overnight. For quicker thawing, you can gently heat them on the stovetop over low heat, or use a microwave. If microwaving, heat in short bursts and stir well to ensure even heating and eliminate hot spots. Always check the temperature of the puree before serving it to your baby to ensure it’s lukewarm and safe.