
Crafting Comfort: Your Ultimate Guide to Making a Beautiful Baby Blanket
Dreaming of wrapping your little one, or a cherished friend’s new arrival, in something truly special and made with love? The idea of creating a handmade baby blanket can feel incredibly heartwarming, yet perhaps a little daunting if you’re new to the world of crafting. You might be wondering where to even begin, what materials are safest, or if your stitches will ever look "just right." Don’t worry, you’re not alone in these thoughts, and you’ve absolutely landed in the perfect spot!
This comprehensive guide is designed to gently walk you through every step of making a baby blanket, transforming any initial hesitation into confident, joyful creation. We’ll cover everything from selecting the softest, safest materials to mastering those first delightful stitches, and even adding the perfect finishing touches. By the end of this journey, you’ll not only have a precious, personalized keepsake, but also the immense satisfaction of knowing you created something truly unique and full of warmth. Get ready to embark on a delightful crafting adventure!
Gathering Your Coziest Supplies for a Perfect Baby Blanket
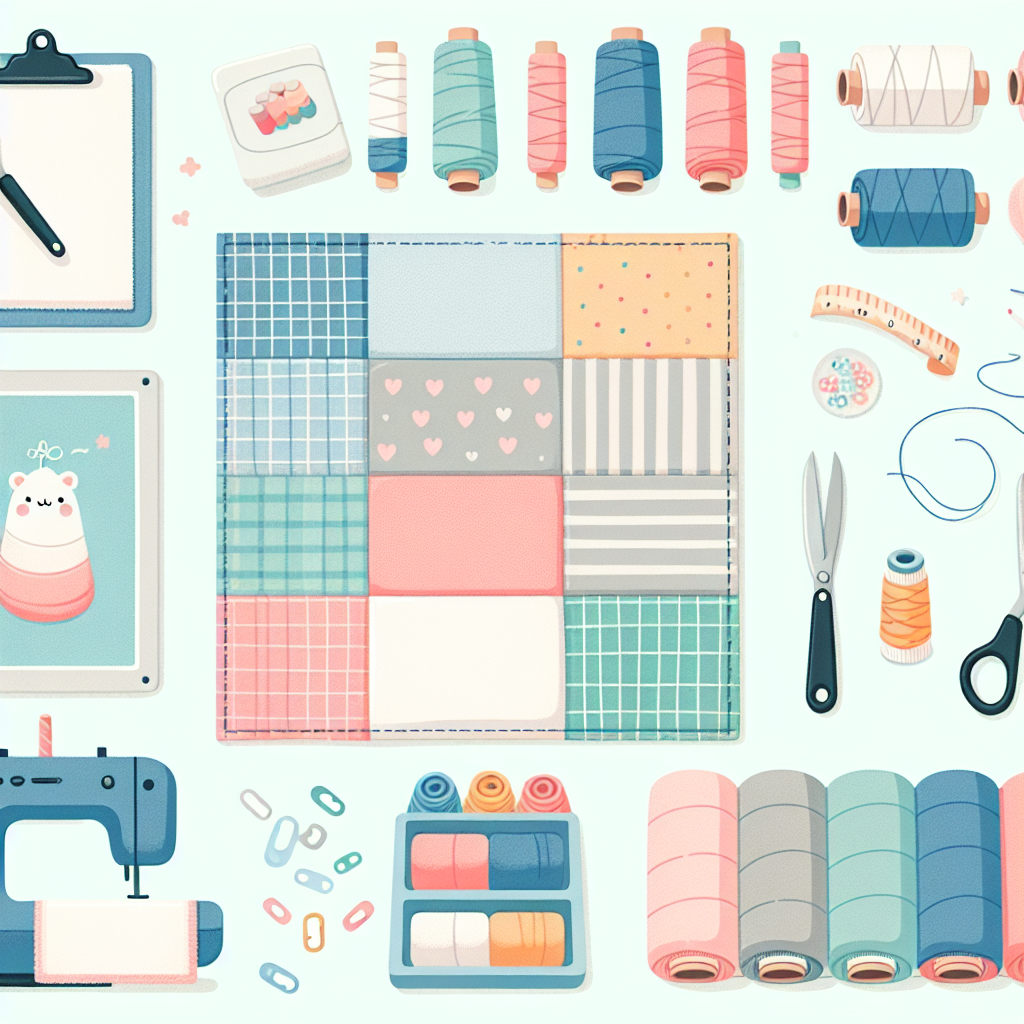
Before your needles start clicking or your hook begins dancing, the very first step in creating a truly special baby blanket is gathering the right materials. Think of this as laying the foundation for all the snuggles to come! Choosing your supplies carefully ensures not only the beauty and durability of your blanket but, most importantly, the comfort and safety of the precious little one who will be wrapped in it.
It’s tempting to jump straight into the fun of knitting or crocheting, but a little planning here goes a long way. The quality and type of your yarn, along with having all the necessary tools at your fingertips, will make your crafting experience much smoother and more enjoyable. Let’s dive into making sure you’re perfectly prepared for your handmade masterpiece.
Remember, this isn’t just about buying "stuff"; it’s about curating the perfect ingredients for a heartfelt gift. Each choice, from the fiber content of your yarn to the size of your crafting tools, contributes to the overall success and charm of your baby blanket project.
Choosing the Perfect Yarn: Softness & Safety First
When it comes to baby blankets, the yarn is truly the star of the show. You’ll want something incredibly soft against delicate skin, durable enough to withstand countless washes, and, crucially, safe for babies. Look for yarns labeled "baby friendly," "superwash," or "machine washable and dryable," as parents will appreciate the ease of care. Common choices include acrylic, cotton, bamboo, or blends that combine the best qualities of each.
Acrylic yarn is a popular choice for baby items because it’s widely available, relatively inexpensive, comes in a rainbow of colors, and is famously easy to care for – it washes beautifully and holds its shape well. However, if you’re looking for natural fibers, soft cotton or bamboo yarns offer excellent breathability, making them ideal for warmer climates or sensitive skin. Some crafters also love merino wool, provided it’s superwash treated for easy care and ensures it won’t be itchy.
Beyond fiber content, consider the yarn’s weight (or thickness). For baby blankets, light worsted (also known as DK or 3-light) or worsted (also known as Aran or 4-medium) are fantastic starting points. They work up relatively quickly without being too bulky, creating a lovely drape. Always check the yarn label for recommended needle or hook sizes, as well as the dye lot number – if you need more than one skein, try to buy them all from the same dye lot to avoid subtle color variations.
Essential Tools for Your Blanket Journey
Once your yarn is selected, you’ll need the right tools to bring your blanket to life. The specific tools depend on whether you’re knitting, crocheting, or even trying a no-sew fleece option. For knitting, you’ll need knitting needles; for crochet, a crochet hook. Circular knitting needles are often preferred for blankets because they can hold a large number of stitches comfortably, preventing the blanket from becoming too heavy on your lap.
Make sure your needle or hook size matches the weight of your yarn to achieve the fabric density you desire. The yarn label will usually recommend a range of sizes, and you can adjust slightly to get a looser or tighter fabric. Beyond the main tool, a few notions will make your life easier: a pair of sharp scissors for cutting yarn, a tapestry needle (also called a yarn needle) for weaving in ends, and stitch markers if you’re working on a pattern or need to mark specific points.
A measuring tape is also indispensable for checking your progress and ensuring your blanket is the desired size. For those considering a no-sew fleece blanket, your main tools will be sharp fabric scissors and possibly a rotary cutter with a mat for precise, straight cuts. Having all these items ready before you begin saves you from frustrating interruptions once you get into your crafting groove.
Planning Your Design: Color, Size & Style
Before you cast on or chain, take a moment to dream up the design of your baby blanket. This is where your creativity truly shines! Think about the colors you want to use. Soft pastels are classic, but vibrant hues can be equally charming and stimulating for a baby’s developing vision. Consider the nursery decor if you know it, or choose colors that simply bring you joy. Don’t be afraid to mix and match; striped blankets are always a hit and a great way to use up different yarn colors.
Next, decide on the size. Baby blankets come in various dimensions, each suited for different purposes. A receiving blanket (around 30×30 inches) is perfect for swaddling or burping, while a stroller blanket (25×30 inches) is ideal for on-the-go warmth. A crib blanket (36×50 inches) will provide ample coverage in the nursery. Consider how the blanket will be used most often to help determine its optimal size.
Finally, ponder the style. Are you leaning towards a simple garter stitch knit for a beautifully textured, yet straightforward project? Or perhaps a classic Granny Square crochet blanket for a charming, traditional look? Maybe a modern, graphic design using different colored blocks? Even a simple no-sew fleece blanket can be elevated with creative fringe or layered fabrics. Don’t feel pressured to pick an overly complicated pattern for your first one; sometimes, the simplest designs, made with love, are the most cherished. A well-chosen basic stitch can create incredible texture and a timeless appeal.
Your First Stitches: Making That Blanket Come to Life!
With your carefully chosen yarn and tools laid out, the real magic begins: bringing your baby blanket to life with your own hands. This is the moment where threads transform into fabric, and your vision starts to take shape. Whether you’re a seasoned crafter or picking up needles or a hook for the very first time, the process of creating something tangible, stitch by stitch, is incredibly rewarding.
Don’t let any initial clumsiness with your tools discourage you. Every single crafter, no matter how skilled they are today, started exactly where you are now. The beauty of handmade items lies in their unique character, and any slight imperfections are simply part of the story, adding to the charm of a truly one-of-a-kind creation. Embrace the learning process, enjoy the rhythm of your hands, and celebrate each row or round completed.
Remember, this isn’t a race or a test; it’s a journey of creation, warmth, and love. Take your time, enjoy the tactile experience of the yarn slipping through your fingers, and visualize the little one snuggled up in your handmade comfort.
Starting Your Project: Knitted, Crocheted, or No-Sew?
The very first step in making your blanket is getting that initial foundation row or edge established. If you’re knitting, this means "casting on." There are several casting-on methods, but a long-tail cast-on is popular for its stretchy, neat edge, which is perfect for a baby blanket that needs to be flexible. You’ll cast on the number of stitches required for your desired width, ensuring it’s not too tight or too loose.
For crocheters, you’ll begin with a "slip knot" and then create a "foundation chain" of stitches. The length of this chain will determine the width of your blanket. Aim for a chain that is consistent in tension – not too tight, or your first row will be difficult to work into. Many beginners find crocheting a bit quicker to pick up than knitting, making it a fantastic option for a first blanket project.
If you’ve opted for the fantastic no-sew fleece blanket, your starting point is simply preparing your fabric! Lay out two pieces of fleece, right sides facing out (or wrong sides if you want the "fluffy" side out). Smooth them out perfectly flat, then trim any uneven edges to create a perfect rectangle or square. This simple preparation is your "cast on" equivalent, setting the stage for the fun fringing that follows.
Mastering the Basic Stitches for Baby Blankets
Once you’ve got your foundation set, it’s time to choose and master the stitches that will form the body of your blanket. For knitting, the garter stitch (knitting every row) is a fantastic beginner-friendly option. It creates a reversible, squishy fabric that lies flat and has a lovely textured ridge. Another simple knit stitch is the stockinette stitch (knit one row, purl one row), which creates a smooth, V-shaped fabric on one side, though it tends to curl at the edges, often requiring a garter or seed stitch border.
For crocheting, the "single crochet" (sc) stitch is an excellent starting point. It creates a dense, sturdy fabric, perfect for a warm blanket. The "half double crochet" (hdc) and "double crochet" (dc) stitches work up faster and create a looser, more drapey fabric. Many patterns for baby blankets simply use one of these basic stitches repeated throughout the entire project, allowing you to focus on consistency rather than complex stitch patterns. Don’t be afraid to watch a few video tutorials online to help visualize these stitches; seeing them in action can make all the difference!
If you’re making a no-sew fleece blanket, your "stitches" involve cutting and tying. After preparing your fabric, you’ll cut 1-inch wide by 4-6-inch deep strips all around the edges of both layers. Then, you simply take one top strip and one bottom strip and tie them together in a double knot. This creates a soft, decorative fringe that holds the two layers together beautifully. It’s incredibly satisfying and surprisingly quick!
Finishing Touches: Edges, Washing, and Gifting
Congratulations, you’ve woven, knitted, or tied your way to a complete blanket! But the journey isn’t quite over. The finishing touches are what truly elevate your handmade item from a project to a polished gift. For knitted and crocheted blankets, this usually means weaving in all those pesky yarn ends. Use your tapestry needle to carefully thread the ends through several stitches on the wrong side of your fabric, ensuring they’re secure and won’t unravel.
Blocking is another wonderful finishing step for knitted and crocheted blankets, though optional. It involves gently wetting your blanket and shaping it to its desired dimensions, allowing it to dry flat. This process evens out stitches, opens up lacier patterns, and gives your blanket a professional, store-bought look. For fleece blankets, simply give the fringe a gentle tug to ensure all knots are secure.
Finally, consider the care instructions. Even if your yarn is machine washable, it’s a lovely touch to include a small tag or card with washing instructions (e.g., "Machine wash cold, gentle cycle, tumble dry low"). This ensures your beautiful creation will last for years. Now, for the most delightful part: presenting your gift! Whether it’s for your own little one or someone else’s, wrapping it simply with a ribbon and a heartfelt note adds that extra layer of love. You’ve poured your time and affection into this blanket, and that warmth will truly be felt.
Your Handmade Treasure: A Legacy of Love
Phew! You’ve navigated the delightful journey of creating a baby blanket, from the initial spark of an idea to the final, beautiful product. Think about everything you’ve accomplished: you’ve learned about choosing safe, cozy yarns, gathered your tools, mastered new stitches (or tying techniques!), and added those all-important finishing touches. This isn’t just a blanket; it’s a tangible expression of love, care, and dedication.
Every stitch, every knot, every thoughtful choice in color and material, weaves together a story of warmth and welcome. This blanket will be there for first snuggles, comforting naps, and countless playful moments. It’s more than just an object; it’s a future heirloom, imbued with your unique touch and the precious energy you poured into its creation. It’s a testament to your patience, your creativity, and your profound affection.
So, as you hold your finished baby blanket, take a moment to truly appreciate what you’ve made. It’s perfect because it came from your heart. Now it’s your turn to share that warmth! Whether it’s for your own bundle of joy or a cherished gift for another family, know that you’ve created something truly extraordinary. Go forth and share the handmade love!
FAQs: Your Baby Blanket Questions Answered
What is the best yarn for a baby blanket?
The best yarn for a baby blanket is typically soft, durable, and machine washable. Popular choices include acrylic, cotton, bamboo, or blends of these fibers. Look for labels that say "baby yarn," "superwash," or indicate it’s suitable for delicate skin. Acrylic is a versatile and affordable option, while cotton and bamboo offer breathability. Avoid yarns that are prone to shedding, pilling, or are difficult to wash.
How much yarn do I need for a baby blanket?
The amount of yarn needed for a baby blanket depends heavily on its size, the yarn’s weight (thickness), and the stitch pattern you choose. As a general guideline:
- Receiving/Stroller Blanket (approx. 30×30 inches): 600-900 yards (550-820 meters) of worsted weight yarn.
- Crib Blanket (approx. 36×50 inches): 1200-1800 yards (1100-1650 meters) of worsted weight yarn.
Always check your specific pattern for exact yarn requirements, and it’s always a good idea to buy a little extra to be safe, especially if you can’t guarantee matching dye lots later.
What size should a baby blanket be?
Baby blankets come in various sizes, each suited for different uses:
- Lovey/Security Blanket: 12×12 to 18×18 inches (30×30 to 45×45 cm) – small, comforting.
- Receiving Blanket: 30×30 to 36×36 inches (75×75 to 90×90 cm) – versatile for swaddling, burping, cuddling.
- Stroller/Car Seat Blanket: 25×30 to 30×35 inches (63×75 to 75×90 cm) – perfect for on-the-go warmth.
- Crib Blanket: 36×50 to 40×60 inches (90×127 to 100×150 cm) – larger, for nursery use.
Consider the intended use when deciding on your blanket’s dimensions.
Is a knitted or crocheted blanket easier for beginners?
Many beginners find crocheting slightly easier to pick up initially because you typically only work with one loop on the hook at a time, making it less likely to drop stitches. Basic crochet stitches like the single crochet or double crochet work up quickly. However, both knitting and crocheting have excellent resources for beginners, and with practice, either can be mastered. No-sew fleece blankets are generally considered the easiest and fastest for those with no prior crafting experience.
How do I wash a handmade baby blanket?
Always refer to the care instructions on your yarn label first, as different fibers have specific needs. Generally, for most baby blankets made with acrylic, cotton, or superwash wool:
- Machine wash: Use a gentle cycle with cold water.
- Detergent: Use a mild, baby-friendly detergent.
- Drying: Tumble dry on low heat or, ideally, lay flat to air dry to help maintain its shape and prevent stretching or shrinking. Avoid high heat, which can damage fibers, especially acrylics.
Proper washing ensures your handmade blanket stays soft, beautiful, and durable for years of love.